
Adding Product Categories
Categories allow you to group products together so your shopping cart visitors can find products that are related to one another. It’s best practice to plan out your product categories ahead of time but you can edit, remove, and add new categories at any time.
- Log into your StoreMantis Dashboard
- Go to Catalog > Categories
- Select the “Insert” button in the upper right corner.
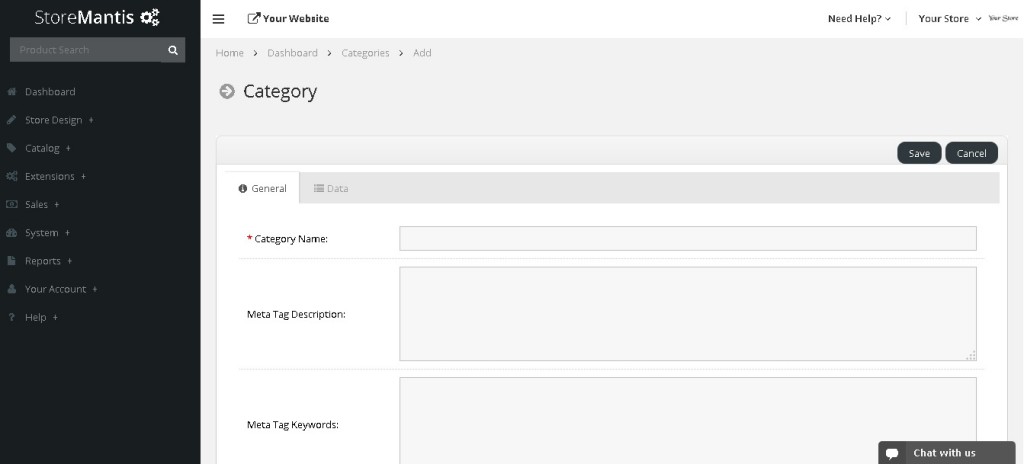
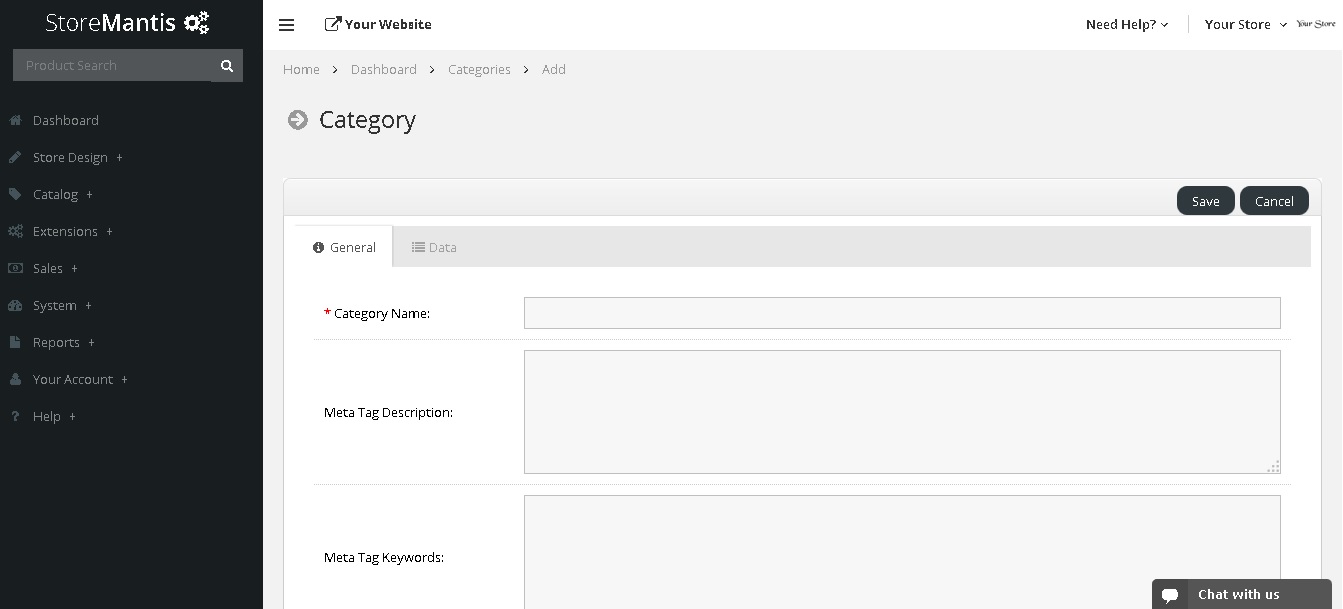
- On the General Tab, fill in the fields for your new category (you can make changes at any time). The only field that is required is the “Category Name”
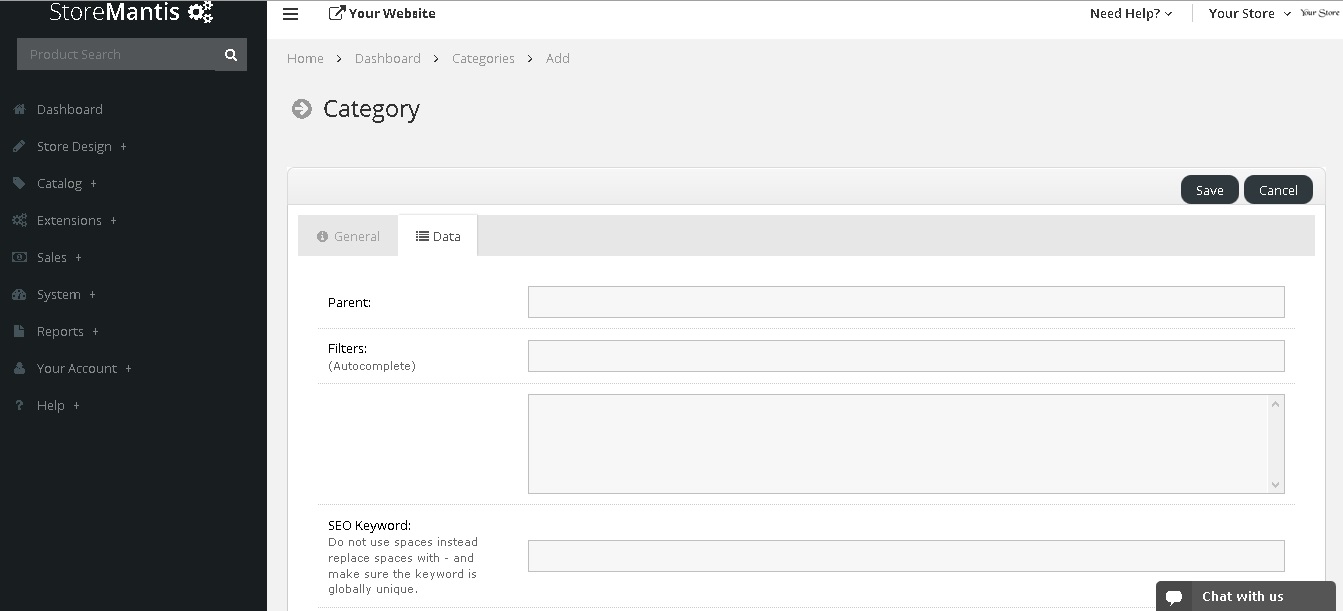
- Click on the Data Tab and fill in the fields you want (these are optional).

- Click the “Save” button in the upper right corner.
At this point you have created your first category! You can add as many categories as you would like.
Adding Sub-categories
If you would like to add subcategories i.e. categories that appear beneath another category, it is actually quite simple. Subcategories are added the same way as regular categories, the only difference has to do with the ‘Parent’ field under the ‘Data’ tab. Simply start typing the name of the category you would like the sub category to go under. A dropdown will appear as you type, displaying matching existing categories. Select the category you want and save!