How to install live chat on your site
Adding live chat on your site is a very effective way to boost your site conversions. Chat gives your customers a quick and easy way to communicate with you. It is also an effective way to get feedback from your customers about their experience on your site.
To get live chat up and running on your store, you will need to install a live chat service. There are tons of such services out there. However here are a few popular ones:
In this tutorial, we will be installing Zopim chat. Zopim is a popular choice due to the fact that they offer a free package and have an easy to use mobile application you can use to communicate with your visitors right from your mobile phone!
STEP 1: Registration
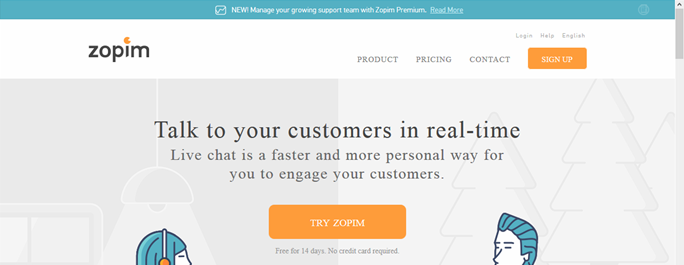
The first step is to register for a free account on Zopim. To do so, simply go to www.zopim.com and click on the ‘Signup’ button

Complete the signup by inputting your name and email. You will need to check our mailbox to verify your account. Then you will complete the signup procedure on the page that the verify link opened.
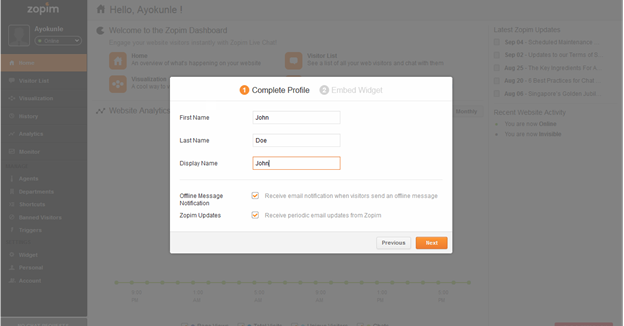
You will then login to your dashboard. Once you are logged in, a popup box will appear asking you to complete your profile

Once you have finished inputting your data, click the ‘Next’ button to proceed to the ‘Embed Widget’ screen
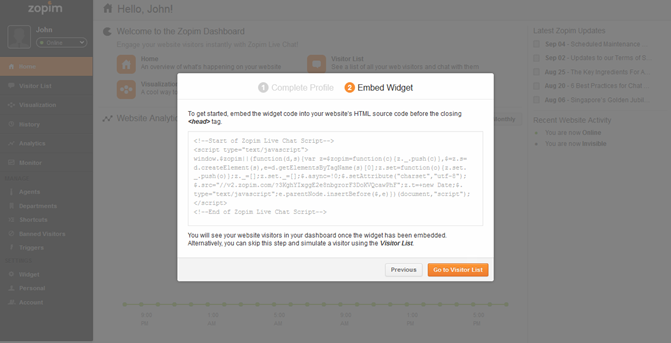
The embed widget box will display some code as show below:

This code is what you will use to install the chat box into your site. Copy this code.
STEP 2: Installing the chat widget
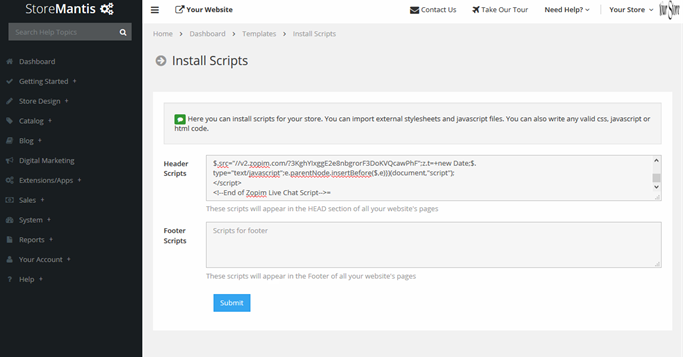
To add the widget to your store, login to your StoreMantis dashboard. Then navigate to ‘Store Design’-‘Advanced’-‘Install Scripts’. Paste the code you copied above into the ‘Header Scripts’ box and then save your changes.

That’s all! The chat widget should now be fully functional on your site.
